Tasty Versatile Rice
Master the art of cooking wholegrain basmati rice with a health-conscious recipe packed with low-glycemic benefits, essential nutrients, and savory spices. Your journey to perfect rice starts here!
In the nearish future, we’re going to do some incredible rice dishes, but first we need to make sure we’re all on the same page about cooking rice, so here’s a simple recipe first, to get technique down and work in some essentials. We’ll be using wholegrain basmati rice, because it has a low glycemic index, lowest likelihood of heavy metal contamination (a problem for some kinds of rice), and it’s one of the easiest rices to cook well.
You will need
- 1 cup wholegrain basmati rice (it may also be called “brown basmati rice“; this is the same)
- 1 1/2 cups vegetable stock (ideally you have made this yourself from vegetable offcuts that you saved in the freezer, then it will be healthiest and lowest in sodium; failing that, low-sodium vegetable stock cubes can be purchased at most large supermarkets. and then made up at home with hot water)
- 1 tbsp extra virgin olive oil
- 1 tbsp chia seeds
- 1 tbsp black pepper, coarse ground
- 1 tsp turmeric powder (this small quantity will not change the flavor, but it has important health benefits, and also makes the rice a pleasant golden color)
- 1 tsp garlic powder
- 1 tsp yeast extract (this gently improves the savory flavor and also adds vitamin B12)
- Optional small quantity of green herbs for garnish. Cilantro is good (unless you have the soap gene); parsley never fails.
This is the ingredients list for a super-basic rice that will go with anything rice will go with; another day we can talk more extensive mixes of herbs and spice blends for different kinds of dishes (and different health benefits!), but for now, let’s get going!
Method
(we suggest you read everything at least once before doing anything)
1) Wash the rice thoroughly. We recommend using a made-for-purpose rice-washing bowl (like this one, for example), but failing that, simply rinse it thoroughly with cold water using a bowl and a sieve. You will probably need to rinse it 4–5 times, but with practice, it will only take a few seconds per rinse, and the water will be coming up clear.
2) Warm the pan. It doesn’t matter for the moment whether you’re using an electronic rice cooker, a stovetop pressure cooker, electronic pressure cooker, or just a sturdy pan with a heavy lid available, aside from that if it’s something non-stovetop, you now want it to be on low to warm up already.
3) Separately in a saucepan, bring your stock to a simmer
4) Put the tbsp of olive oil into the pan (even if you’re confident the rice won’t stick; this isn’t entirely about that) and turn up the heat (if it’s a very simple rice cooker, most at least have a warm/cook differentiation; if so, turn it to “cook”). You don’t want the oil to get to the point of smoking, so, to test the temperature as it heats, flick a single drop of water from your fingertip (you did wash your hands first, right? We haven’t been including that step, but please do wash your hands before doing kitchen things) into the pan. If it sizzles, the pan is hot enough now for the next step.
5) Put the rice into the pan. That’s right, with no extra liquid yet; we’re going to toast it for a moment. Stir it a little, for no more than a minute; keep it moving; don’t let it burn! If you try this several times and fail, it could be that you need a better pan. Treat yourself to one when you get the opportunity; until then, skip the toasting part if necessary.
6) Add the chia seeds and spices, followed by the stock, followed by the yeast extract. Why did we do the stock before the yeast extract? It’s because hot liquid will get all the yeast extract off the teaspoon 🙂
7) Put the lid on/down (per what kind of pan or rice cooker you are using), and turn up the heat (if it is a variable heat source) until a tiny bit of steam starts making its way out. When it does, turn it down to a simmer, and let the rice cook. Don’t stir it, don’t jiggle it; trust the process. If you stir or jiggle it, the rice will cook unevenly and, paradoxically, probably stick.
8) Do keep an eye on it, because when steam stops coming out, it is done, and needs taking off the heat immediately. If using an automatic rice cooker, you can be less attentive if you like, because it will monitor this for you.
Note: if you are using a simple pan with a non-fastening lid (any other kind of rice cooking setup is better), more steam will escape than the other methods, and it’s possible that it might run out of steam (literally) before the rice is finished. If the steam stops and you find the rice isn’t done, add a splash of water as necessary (the rice doesn’t need to be submerged, it just needs to have liquid; the steam is part of the cooking process), and make a note of how much you had to add (so that next time you can just add it at the start), and put it back on the heat until it is done.
9) Having taken it off the heat, let it sit for 5 minutes (with the lid still on) before doing any fluffing-up. Then you can fluff-up and serve, adding the garnish if you want one.
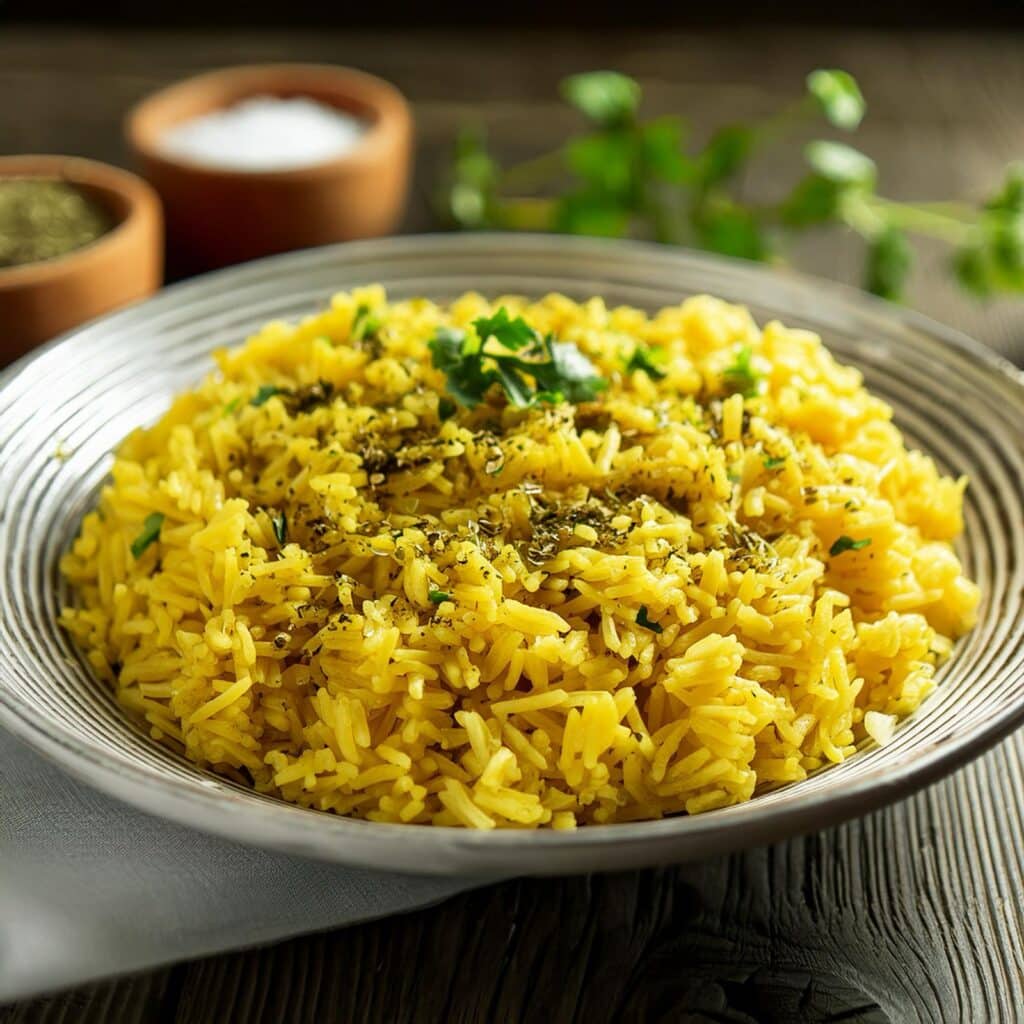
Enjoy!
Want to learn more?
For those interested in some of the science of what we have going on today:
- Should You Go Light Or Heavy On Carbs?
- Chia: The Tiniest Seeds With The Most Value
- Black Pepper’s Impressive Anti-Cancer Arsenal (And More)
- Why Curcumin (Turmeric) Is Worth Its Weight In Gold
- The Many Health Benefits Of Garlic
Take care!
Share This Post

Learn To Grow
Sign up for weekly gardening tips, product reviews and discounts.
-
Stop Cancer 20 Years Ago
Dr. Jenn Simmons shares vital tips on preventing cancer and inflammation, advocating for lifestyle changes and proactive health management at any age.
Get Abreast And Keep Abreast
This is Dr. Jenn Simmons. Her specialization is integrative oncology, as she—then a breast cancer surgeon—got breast cancer, decided the system wasn’t nearly as good from the patients’ side of things as from the doctors’ side, and took to educate herself, and now others, on how things can be better.
What does she want us to know?
Start now
If you have breast cancer, the best time to start adjusting your lifestyle might be 20 years ago, but the second-best time is now. We realize our readers with breast cancer (or a history thereof) probably have indeed started already—all strength to you.
What this means for those of us without breast cancer (or a history therof) is: start now
Even if you don’t have a genetic risk factor, even if there’s no history of it in your family, there’s just no reason not to start now.
Start what, you ask? Taking away its roots. And how?
Inflammation as the root of cancer
To oversimplify: cancer occurs because an accidentally immortal cell replicates and replicates and replicates and takes any nearby resources to keep on going. While science doesn’t know all the details of how this happens, it is a factor of genetic mutation (itself a normal process, without which evolution would be impossible), something which in turn is accelerated by damage to the DNA. The damage to the DNA? That occurs (often as not) as a result of cellular oxidation. Cellular oxidation is far from the only genotoxic thing out there, and a lot of non-food “this thing causes cancer” warnings are usually about other kinds of genotoxicity. But cellular oxidation is a big one, and it’s one that we can fight vigorously with our lifestyle.
Because cellular oxidation and inflammation go hand-in-hand, reducing one tends to reduce the other. That’s why so often you’ll see in our Research Review Monday features, a line that goes something like:
“and now for those things that usually come together: antioxidant, anti-inflammatory, anticancer, and anti-aging”
So, fight inflammation now, and have a reduced risk of a lot of other woes later.
See: How to Prevent (or Reduce) Inflammation
Don’t settle for “normal”
People are told, correctly but not always helpfully, such things as:
- It’s normal to have less energy at your age
- It’s normal to have a weaker immune system at your age
- It’s normal to be at a higher risk of diabetes, heart disease, etc
…and many more. And these things are true! But that doesn’t mean we have to settle for them.
We can be all the way over on the healthy end of the distribution curve. We can do that!
(so can everyone else, given sufficient opportunity and resources, because health is not a zero-sum game)
If we’re going to get a cancer diagnosis, then our 60s are the decade where we’re most likely to get it. Earlier than that and the risk is extant but lower; later than that and technically the risk increases, but we probably got it already in our 60s.
So, if we be younger than 60, then now’s a good time to prepare to hit the ground running when we get there. And if we missed that chance, then again, the second-best time is now:
See: Focusing On Health In Our Sixties
Fast to live
Of course, anything can happen to anyone at any age (alas), but this is about the benefits of living a fasting lifestyle—that is to say, not just fasting for a 4-week health kick or something, but making it one’s “new normal” and just continuing it for life.
This doesn’t mean “never eat”, of course, but it does mean “practice intermittent fasting, if you can”—something that Dr. Simmons strongly advocates.
See: Intermittent Fasting: We Sort The Science From The Hype
While this calls back to the previous “fight inflammation”, it deserves its own mention here as a very specific way of fighting it.
It’s never too late
All of the advices that go before a cancer diagnosis, continue to stand afterwards too. There is no point of “well, I already have cancer, so what’s the harm in…?”
The harm in it after a diagnosis will be the same as the harm before. When it comes to lifestyle, preventing a cancer and preventing it from spreading are very much the same thing, which is also the same as shrinking it. Basically, if it’s anticancer, it’s anticancer, no matter whether it’s before, during, or after.
Dr. Simmons has seen too many patients get a diagnosis, and place their lives squarely in the hands of doctors, when doctors can only do so much.
Instead, Dr. Simmons recommends taking charge of your health as best you are able, today and onwards, no matter what. And that means two things:
- Knowing stuff
- Doing stuff
So it becomes our responsibility (and our lifeline) to educate ourselves, and take action accordingly.
Want to know more?
We recently reviewed her book, and heartily recommend it:
The Smart Woman’s Guide to Breast Cancer – by Dr. Jenn Simmons
Enjoy!